Ways to Get More Creative with Blue Hour Photography
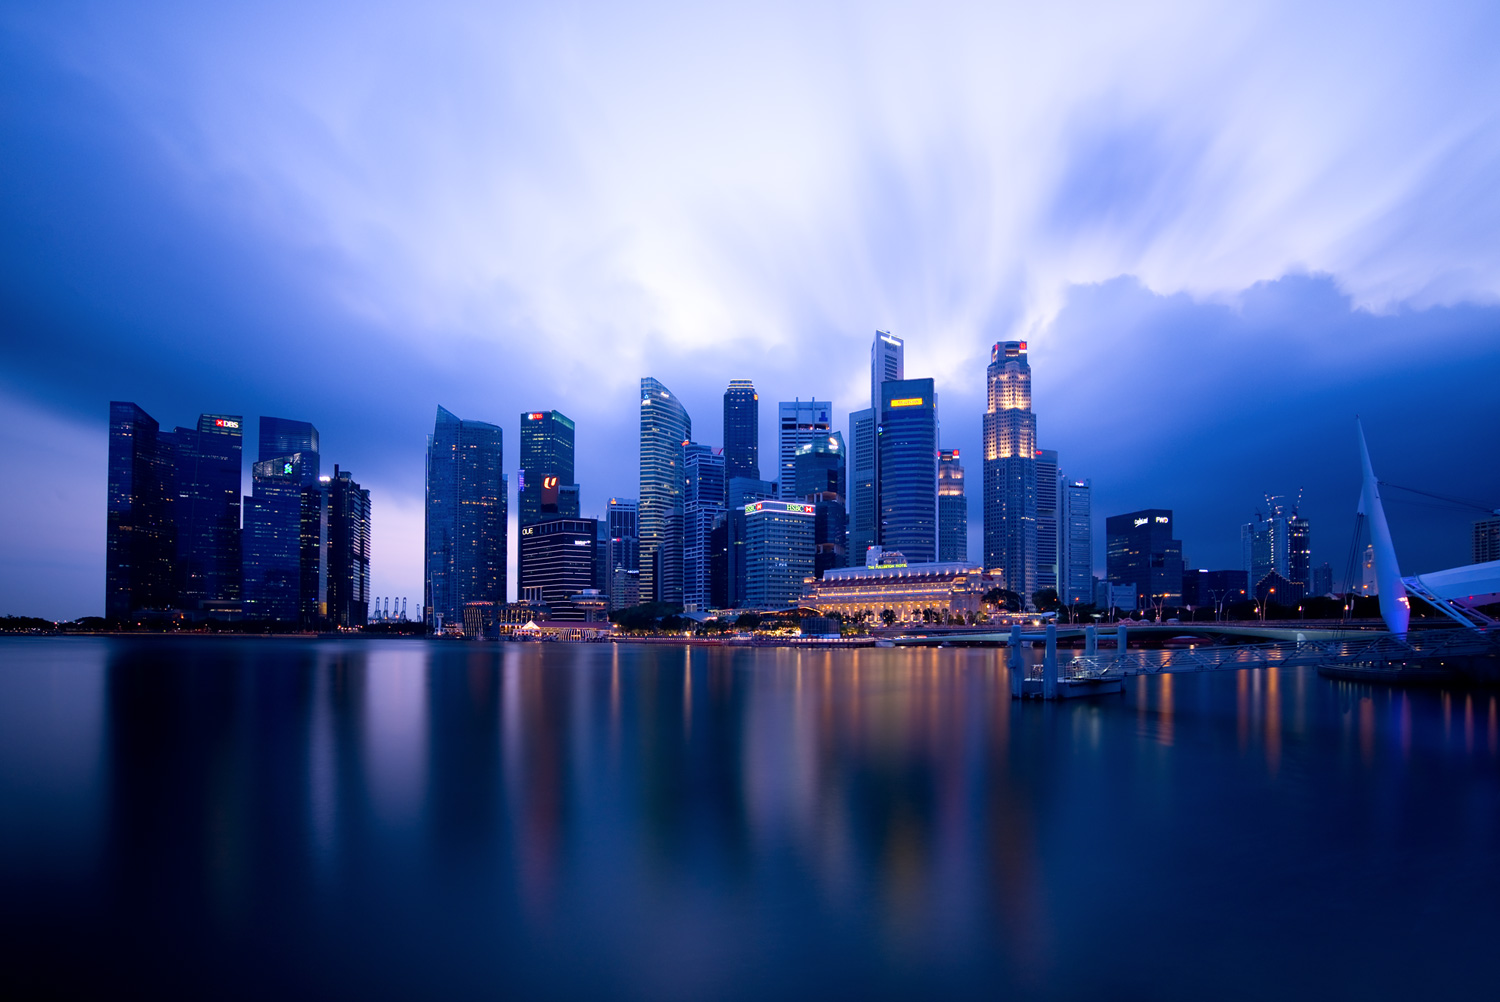
Blue hour photography is often forgotten about by many photographers. After golden hour ends, most pack up their gear and head home for the evening. What they don’t realize is that the best part’s only just beginning!
Blue hour is the perfect time to challenge your photography and get creative in a low light environment. With significantly less light than other times of day, you can capture more moody scenes, practice your long exposure photography, and more.
In this article, I will share four great blue hour photography tips to help you get the most out of this unique time of day. Let’s get started!
#1 – Include a light source in your frame
The challenge with blue hour photography is that there are a lot of shadows. Especially when you’re taking photos of a person, it’s difficult to draw attention to them. What can you do to separate a shadowed figure from an already dark background?
That’s why incorporating a light source into your blue hour photos is so valuable.
This can be any type of light that is shown within your frame. Something like a headlamp, campfire, streetlight, or even car headlights will work. Use whatever is available to illuminate your subject and draw more attention to them.
Beyond just illuminating your subject, a headlamp or flashlight can also be an interesting compositional element. By utilizing the rule of light and dark, you quickly draw your viewer’s attention directly to the subject.
Blue hour makes this compositional technique extremely easy to implement since there is already an abundance of shadowy areas in the image. By adding some kind of light, you immediately create an interesting point of reference within the darkness.
The two easiest ways to incorporate a light source in your blue hour images is with a headlamp (flashlight) or campfire. Let’s go over how you can utilize each to improve your blue hour photography.
Headlamps
There are several ways that headlamps can be used to illuminate and draw more attention to your subject. The beauty of a headlamp is that it’s a part of your subject. Since it’s actually on their head, it will draw attention directly towards their face.
When you shine a headlamp towards or at your lens, you can capture a great flaring effect. Depending on your aperture, this lens flare can range from a soft glow (wide aperture like f/2.8 or f/4) to a crisp starburst (small aperture like f/11 or smaller).
Regardless, this flare can add a great effect to your blue hour photos. It gives the light a magical and adventurous feel, especially when used in hiking photography.
The second way you can utilize a headlamp is to shine it against something. For example, you could shine it on the ground in front of your subject or on another nearby surface. Whatever you aim it at, the spotlight will immediately draw the viewer’s eye. Utilize this to your advantage!
The spotlight of a headlamp will create a secondary point of interest. Whether there are unique textures on a cliff face or flowers in a meadow, these added details can add a lot to your image.
Campfires
Campfires act as an incredible light source for a variety of reasons, but most importantly, for the mood they create. It’s impossible to look at a campfire and not think of relaxation, comfort, and fun.
After all, when was the last time you saw a campfire surrounded by grumpy people? I’d argue never.
The advantage of a campfire is that the light is widespread. That makes it easy to illuminate anything around the fire’s edge. Between the fire’s glow and the coolness of blue hour (complementary colors), you capture a beautiful shift in color entirely in-camera.
Campfires are one of the most diverse light sources for blue hour photography. Unlike other options, campfires can double as both the subject or the light source. You can capture a great blue hour photo of just a campfire, or an image with people surrounding the fire.
Best of all, once you finish taking photos, you can chill out by the fire. It’s a win-win situation.
#2 – Experiment with light painting
If you’re looking for a fun blue hour photography idea, then light painting is a must. You don’t need any fancy gear to make it happen, just any flashlight. Even your cell phone’s light will do.
Light painting is done by moving a light source through your frame while using slow shutter speed. Since the light is continually moving, it will blur into one continuous streak through your photo. Aiming for a shutter speed of five seconds or longer is a great starting point for blue hour light painting.
Blue hour is an incredible time to light paint for two main reasons. The first being that you can easily capture the light trail. The second is that there is still enough available light to see a ton of details in the scene.
The result is light trails that appear to be captured in the middle of the day. The only giveaway is that there may be a few stars you can see in the sky.
To get the most out of your light trails, you want to create the illusion that you’re completely invisible. To make sure this happens, you can try a few easy tactics.
Tip #1- Wear black clothes and jacket
Since there is still enough light to see you at blue hour, wearing black becomes extra important. Darker colors will help you blend in with the shadows and draw less attention to yourself. If you don’t do this, you run the risk of seeing your brightly colored T-shirt streaking through the frame.
Tip #2- Don’t stay in one spot for too long
Along with wearing black, staying in continuous motion helps to render you invisible to the camera. In a nutshell, the more you move, the less time your camera has to capture any light being reflected off your body. As you change positions, you become nothing but an invisible blur in the final picture.
#3 – Get into the mountains
Getting into nature is hands down the best place to catch blue hour, especially in the mountains. During blue hour the winds tend to calm, lakes glass over, and soft light is cast across the taller peaks. If you’re lucky, you’ll even experience an effect known as Alpenglow.
Alpenglow is the reflection of light from clouds and other particles in the air. This creates a fantastic reddish or pink glow in the sky and on the surrounding peaks. The vibrance of this glow will change depending on weather conditions, but it’s an incredible sight you don’t want to miss.

