Light Painting Experiments to Improve Your Photography
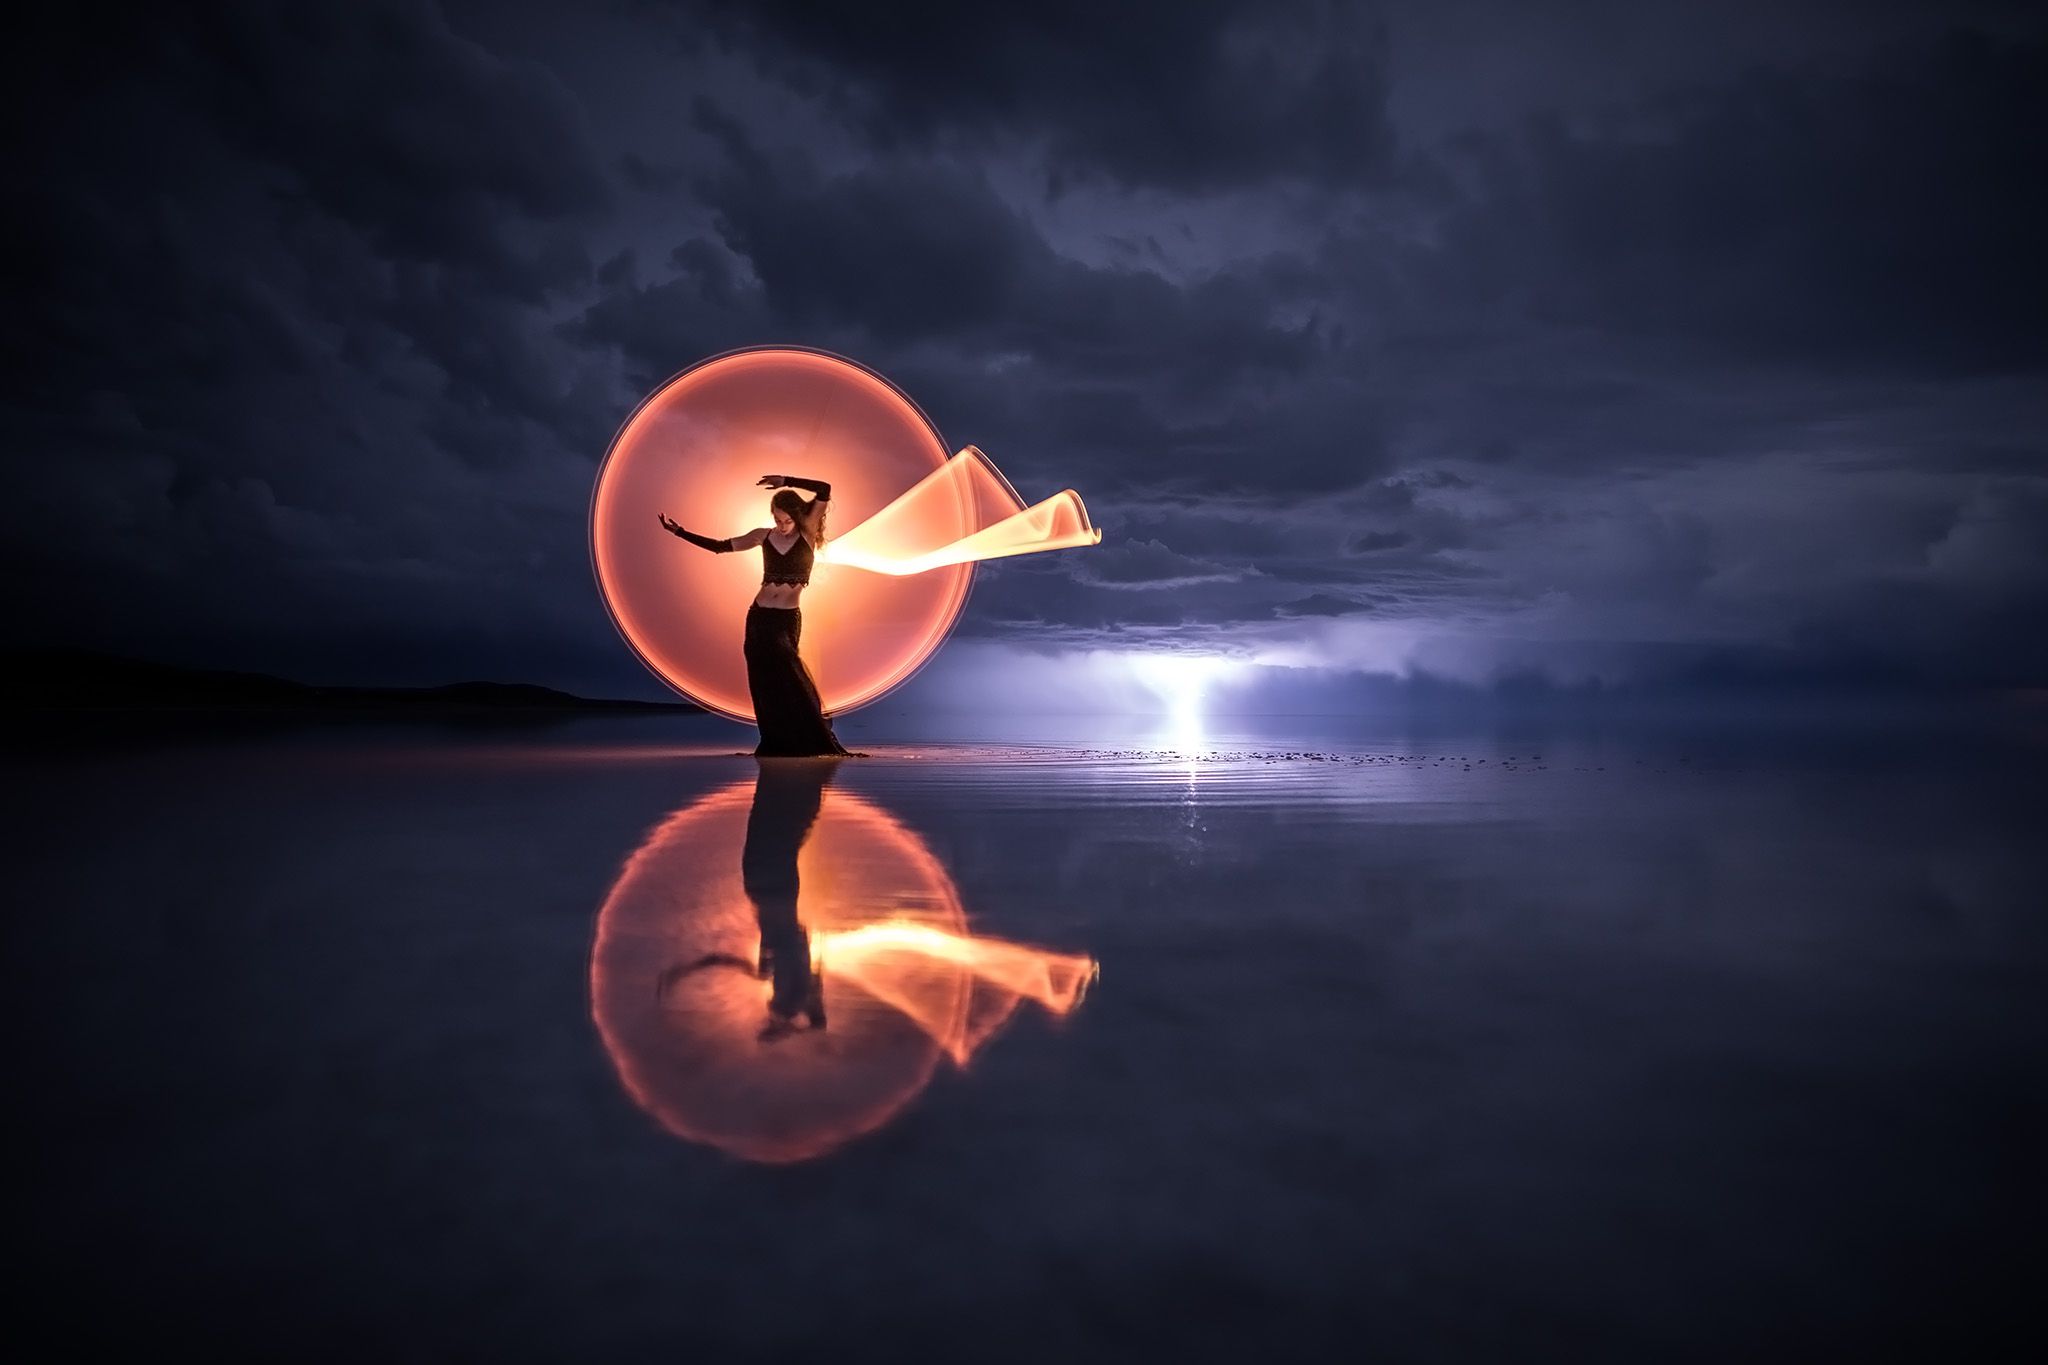
What is light painting and why you should know is a pretty bold statement, right? Well, if you are looking for a way to better understand how light influences your photographs then this is an article for you.
Although it’s usually a technique for night photography, I believe that experimenting with light painting can help you improve not only your night shot but your daytime photos as well.
Spoiler alert, the improvements come from understanding how the direction of light can change the look of your subject.
In this article, I’ll walk you through a couple of different experiments to demonstrate the basics of light painting and explain some of the science going on behind the scenes. It’s a little long, so I’ll do my best to get the basics out of the way first before diving deeper.
What you’ll learn
Learn the basics of light painting
- What is it?
- How to get started
- How it can help you improve your night photography
- Add some terminology to your photography library (Inverse-square law)
Without further ado, let’s get started.
What is light painting?
The term light painting is really appropriate because you are doing just that – painting with light. Instead of paint you use light and capture it with a camera instead of a canvas. If you haven’t tried light painting before it’s really fun.
What does that mean? Simply put, you use an external light source to creatively illuminate a subject in the dark.
Words are great, but light painting is easier to understand with pictures.
In this pair of night photos below, what differences do you see?
The image above is an exposure using just available light from the moon.
By contrast, the image below was created by using a small light to accentuate the details and textures of the rock. That image is an example of light painting.
What do you think of the result?
This is light painting.
Why do light painting?
If you are already comfortable working with your camera, then light painting is a fun, creative, and challenging way to push yourself and your photography.
Much like taking photographs in black and white is helpful for understanding contrast in a scene, light painting helps you really understand how to use light to showcase your subject. As a landscape photographer, I enjoy using light painting while composing my night photography images.
Now that you know what light painting is and why you should add it to your list of things to try, let’s dig into the process.
In order to help you better understand the basics of light painting, I’ve conducted a couple of experiments.
While still sheltering in place means limiting how far I can roam from home, it also allows for a good first lesson. You don’t need to go very far to find a place to practice light painting. You just need an area that is not well lit and is mostly dark.
For this article, I walked five minutes to a dog park near my home. There I found a group of three trees that I chose as the subject for these experiments.
The first image above, is straight out of the camera. I’m sharing this because I want you to see that there is still some light entering the scene.
In this case, the light is coming from a series of lights along a nearby sidewalk. Here is an edited version that I brightened up to make it easier for you to see the overall scene.
Important first step – focusing your camera at night
Before jumping into the experiment any further, I wanted to take a moment to share the easiest way to focus at night. Since you already have some form of external light with you, point it at the subject (get someone to hold the light for you if possible).
With the subject illuminated, either focus manually (using Live View press the little zoom or magnify button and go to 5x or 10x view to see better) or automatically and then lock the focus for the rest of that shoot.
You can just switch the lens/camera to manual focus or use back button focus if you know how to do that.
If you move the camera, you will need to focus again.

