Macro Photography with Oil and Water
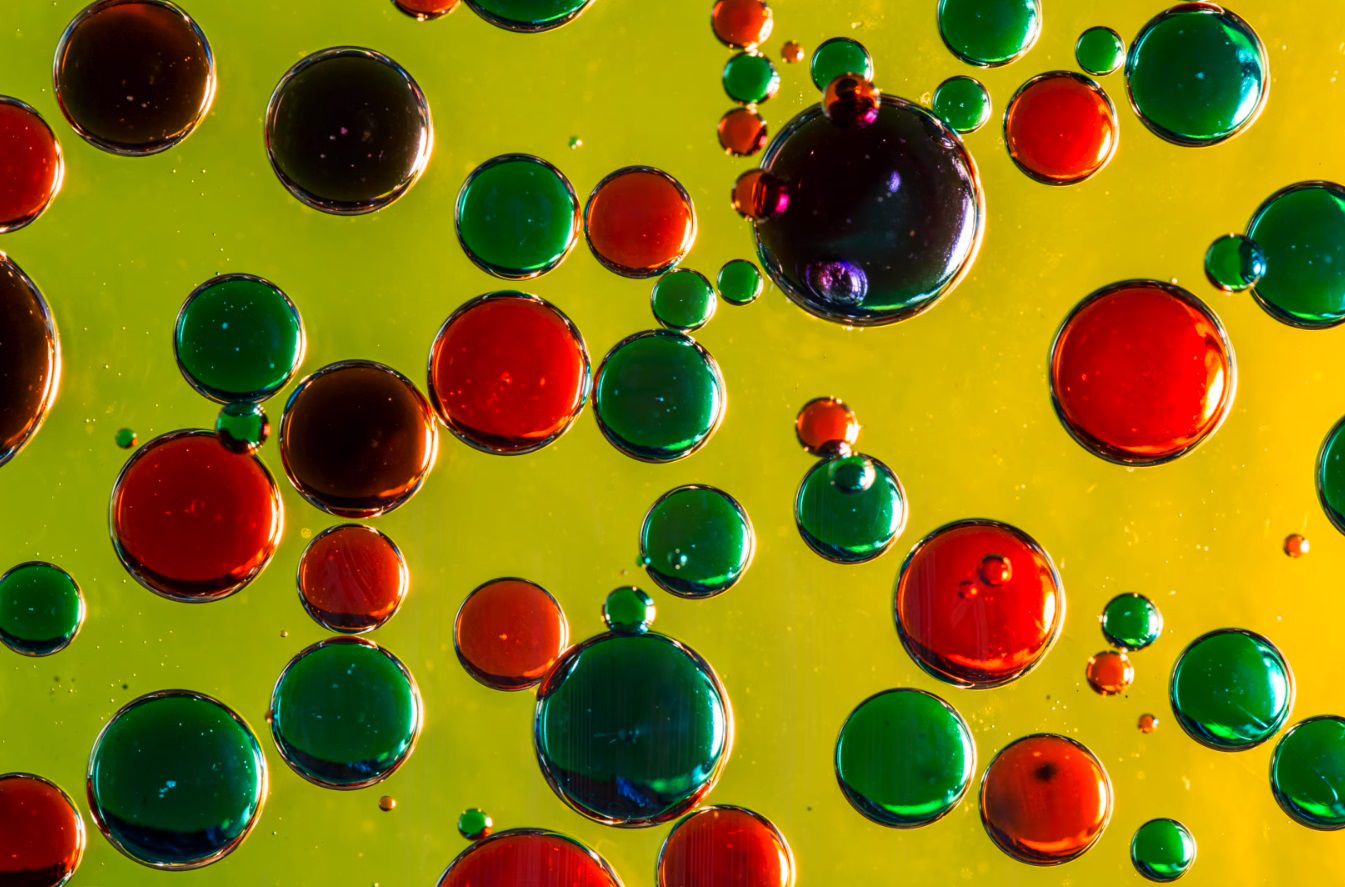
In this article, I have another fun photography project for you to try at home. This time it’s all about macro photography of oil and water. You can do this using a few things you can find around your house, no fancy gear is needed.
Gear needed for oil and water macro photography
You may have already tried one of our previous project ideas and done some soap bubble photography. If so, you already have most of the things you’ll need to do this one too.
Once again there are a few essential must-have pieces of equipment that you need but you likely have them already in your kit.
Essentials
Here is a list of the must-have items that are essential for doing soap bubble photography.
- Camera with adjustable settings – you’ll want to use Manual Mode).
- A lens that has a close focusing distance, ideally one that is not a wide-angle lens (if you have a macro lens use that).
- A tripod – this is essential, you cannot hand hold this kind of shot.
- Oil – olive or vegetable oil work great.
- A clear glass dish to hold the oil and water mixture (try and find one without a logo in the way).
- A piece of glass to act as your light table (if you don’t have one, borrow one out of a picture frame).
- Liquid soap – ordinary dish soap will work fine.
- Colored bits of paper or an iPad or tablet to create a colored background.
- Food coloring (if you want to try the second technique and put the water into the oil).
- A light source – you only need this if you using paper and not an iPad for the background. This could be a simple table lamp or one that clamps onto things.
Optional items
Here is a list of optional items if you want to take it up a level:
- A speedlight or flash (if you want to use that as your light source – it will help you freeze any movement of the bubbles).
- A remote trigger to fire your camera.
- A method of getting closer (a macro lens, extension tubes, or close-up filters). You can get a set of inexpensive filters for under $20 if you want to try it (just make sure you buy the right size to fit your lens).
Oil in water
This first from Mike Browne shows you how easy it is to do this. He walks you through everything you’ll need, and how to get it set up to shoot.
You can see how he creates the background using some bits of colored paper and a simple clamp light – all in the middle of his kitchen floor!
Tablet background
In this next, Dave Vickers demonstrates how to use your iPad or digital tablet to create a colorful background. This method is basically the same except instead of paper you’re using your tablet to create the colors in the bubbles.
You can get really creative and download some funky images to try out as background – just go a google search for “free colorful abstract backgrounds” or “free colorful wallpaper backgrounds“. I found some great ones like these:
Water in oil
Finally, in this last from Visual Art Photography Tutorials, see how you can do a reverse technique.
By putting water into some oil, you can create a totally different look. Add in a little food coloring and you’ve got something really cool!

