Kids’ Woodworking: Make a String Thing

Create a string art masterpiece and practice using a hammer and nails safely with this kids’ woodworking project that’s perfect for beginners.
For people of any age, the most thrilling part of woodworking is the projects. What if you have a very young beginner? Start with String Thing! This is an easy string art project with a huge “wow” factor and it’s a great way to get kids comfortable with woodworking skills such as measuring and using a hammer and nails.
Kids can use any kind of string for this string art project — kitchen string, mason’s line, embroidery thread, yarn, or whatever you have in the house. Smaller fingers might find it easiest to use yarn at first, since it’s easy to wrap and tie. Multicolored yarn gives the illusion of different-colored string without the work of tying each color separately.
Grip the handle of your hammer with your dominant hand — that’s the hand you write with. You may want to “choke up” (hold the hammer near its head) when starting a nail because it will give you better control of your hammer.
Grab a nail with your free hand, holding the nail shaft between your thumb and index finger. Set the nail point on your board. Keeping the nail straight, tap gently on the head of the nail a few times with the face of your hammer. Tap until the nail sticks into the wood and stands up on its own.
Pulling a Nail
If a nail is bent or in the wrong spot, you can use the claw on your hammer to pull it out.
Hold the hammer upside down and slide the claw underneath the head of the nail. Pull back on the handle so the claw lifts up, pulling the nail with it.
Make a String Thing
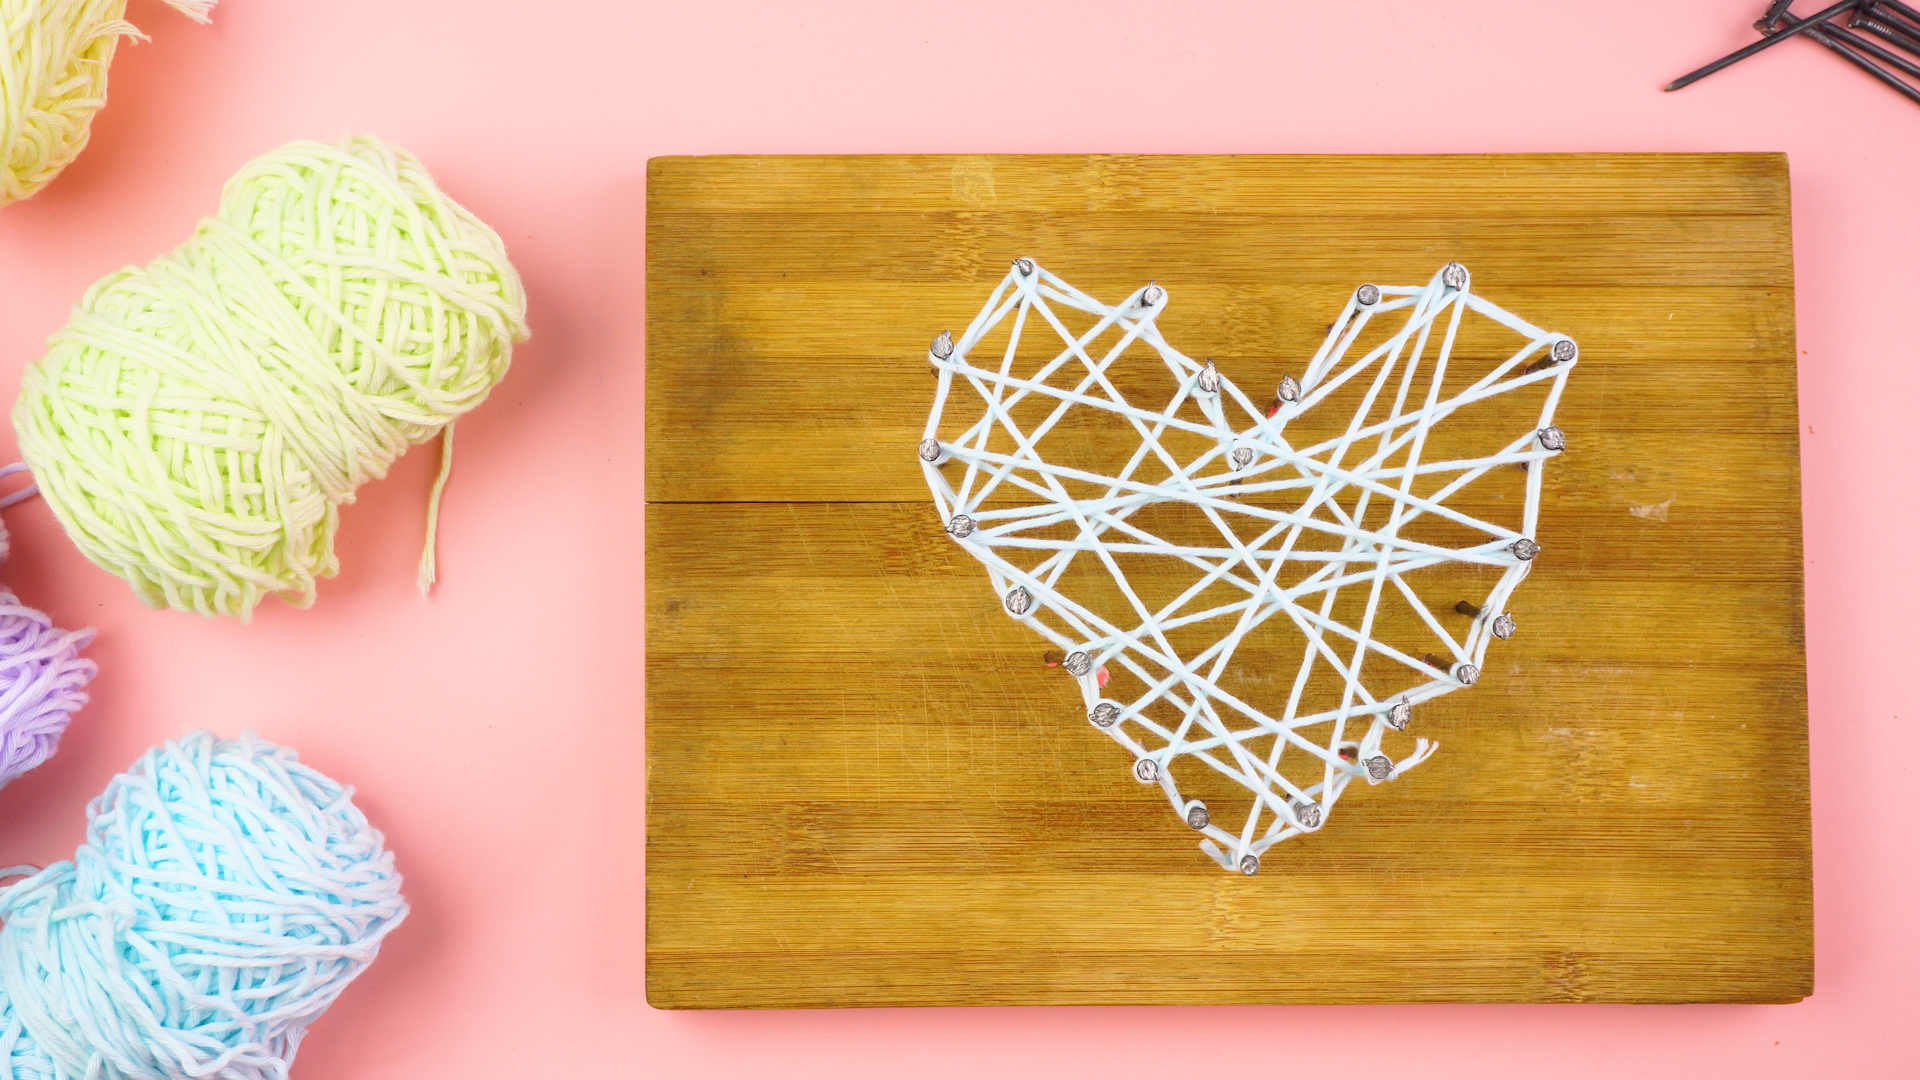
Make colorful artwork as you practice using a hammer! Start with a simple design that gives you plenty of room to hammer and to fix any mistakes. As you gain confidence, try using smaller nails and tighter spacing to create your own string art masterpiece. You can even use cut-out photos or hand-drawn illustrations as a nailing guide.
What Do You Need?
TOOLS
Safety glasses
Hammer
MATERIALS
1Ă— board, of any size or shape
Blue low-tack or masking tape
1¼-inch common nails or finish nails
String
Set Your Pattern
Step 1. Set the pattern you will follow on your board.
If you are planning to center your string art on the board, start by marking the center of the board, using this simple trick:
- Use a ruler to draw a line diagonally across the board from one corner to the opposing corner. (If your board is longer than your ruler, use a straight piece of lumber.)
- Repeat with the other two corners. Where the lines cross is the center.
- Step 2. Mark the points on the pattern where you’ll put nails. You can use a pencil to mark the points. If your pattern is an image you’ve taped onto your board, mark the points on the image, and then use a hammer to gently tap a nail through the paper and into the board at each point, as shown here:
Keeping at least 1½ inches between nails will make the hammering and stringing easier. Spacing them more closely together is more challenging but allows for more complex stringing patterns.
If you’re working with a circle or other symmetrical shape, you may want the nails to be spaced equally along the lines you’ve marked. If you’re working with an irregular shape, make sure you put a nail anywhere the direction changes, like corners.
Hammer the Nails
Step 1. Hammer in a 1¼-inch nail at each of the marked points. Each nail should stand about ¾ inch to 1 inch above the board. Common nails are easier for beginners to hammer and easier to string. Finish nails work better for more complex designs with tighter spacing.
Step 2. Look at your board from the side to check the nails. Each nail should be straight and the same height as the others. Fix any nails that are too tall or crooked.
String It!
Tie one end of the string around a nail and begin stringing. Outline images with string before you work on the interior. See what you get! If you don’t like it, you can always unwind and start over.


